Opensource AI for personal use – GPT4All

Hey everyone!

This time around I have been looking a bit into AI and what options there are for personal, local use.
As a long-term plan, I might eventually want to incorporate it into the homelab, but for now I am just testing things out in my own home-PC.

First things first, all the links I used to set this up can be found at the bottom of the page.

Alright then, now to download GPT4All from it’s github link. It might look a bit intimidating at first, but if you just scroll down a little in the github page, you’ll see this view:

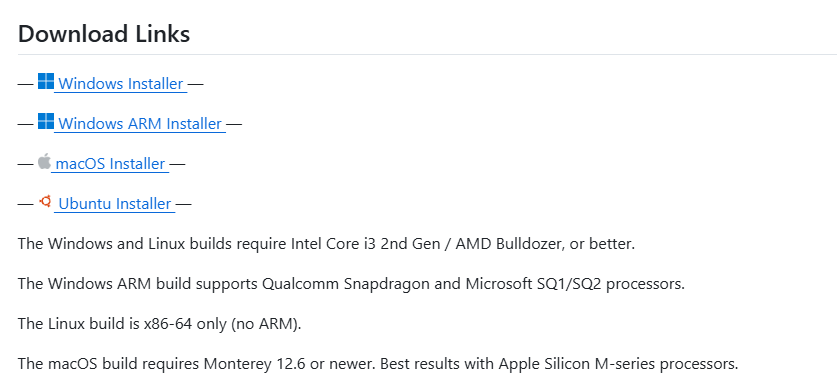
Then it’s just a matter of choosing the correct installer for you.

After the download is over, go ahead and install it. You can now open the application and start chatting, if you’d like!
However, it won’t be the smartest of AI models. To get something more advanced, you’ll need to add a model to the application.

To do this, follow these steps:
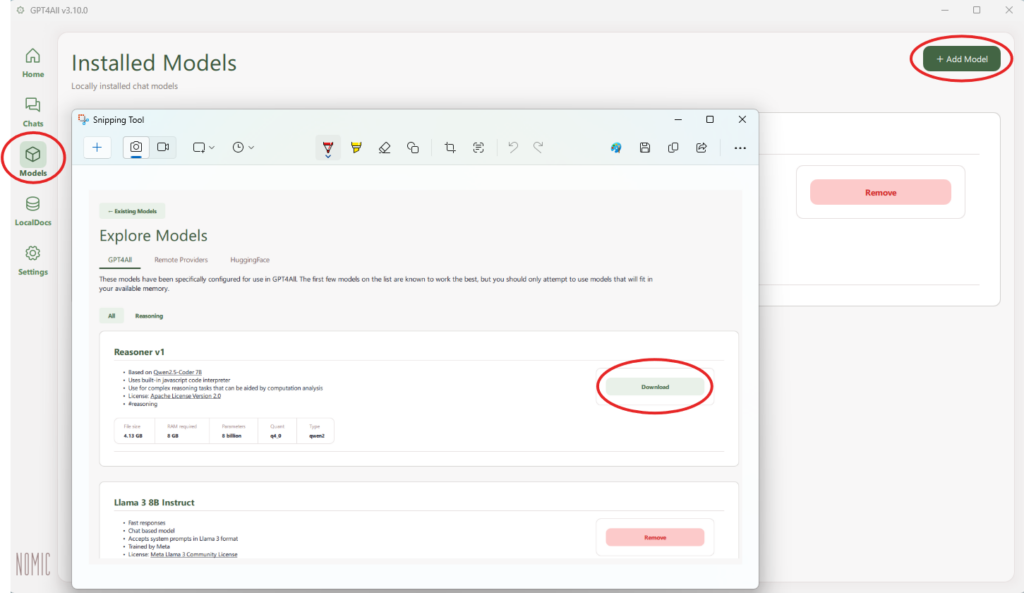
-Click on the “Models” tab on the left-hand-side of the interface.
-Select “+Add Model” from the top right corner.
-Choose which model you would like to add, and download it.

I personally downloaded “Llama 3 8B Instruct” and used it for testing.

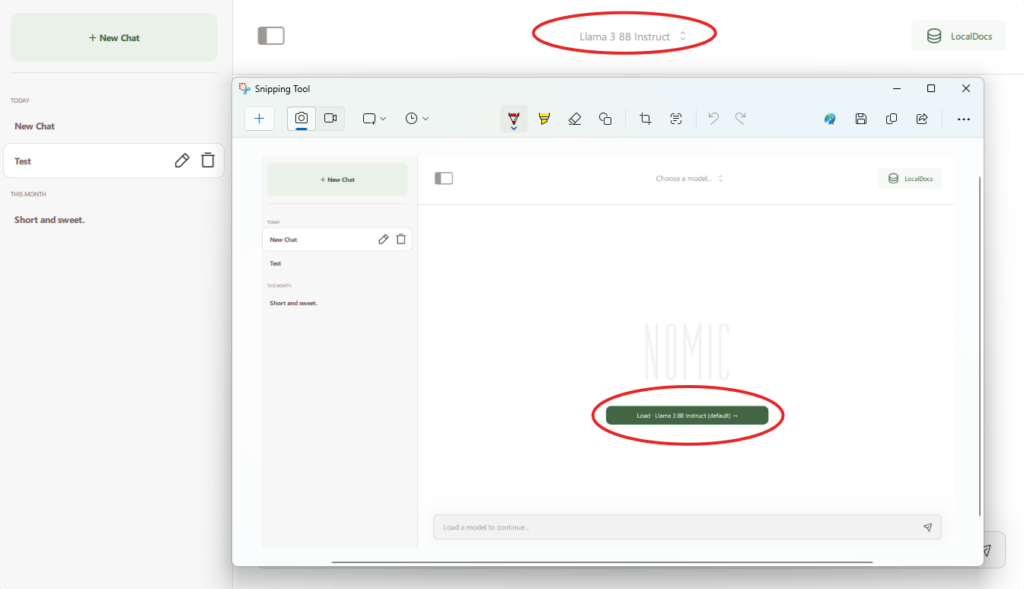
Now, when you start a new chat it will ask which model to use, and you can also change the model currently in use from the top-middle section of the active chat.

If you’re still not getting answers at the level you’d like, or you want to use specific sources for studying or for other reasons, there is a way to add your own sources (pdf files and documents) for this local AI to use.

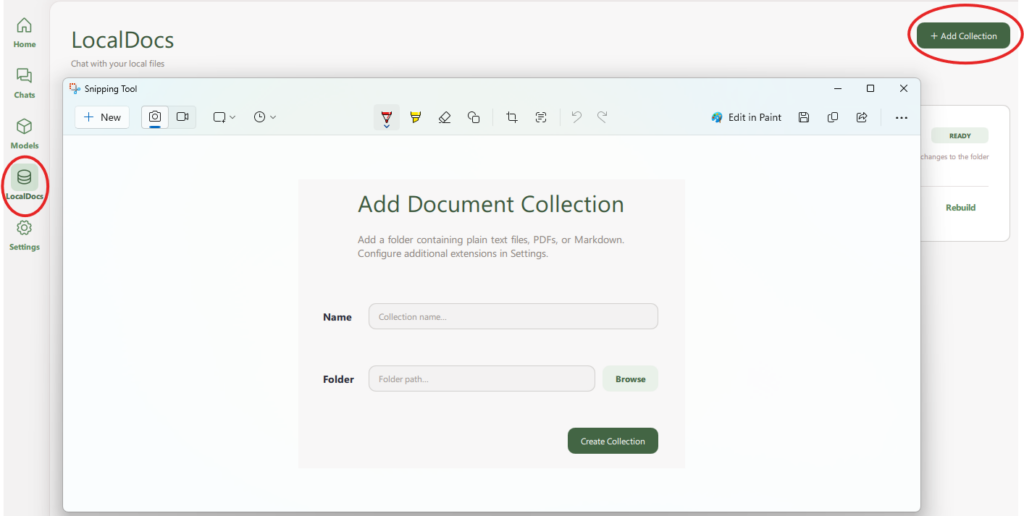
First go to the “LocalDocs” tab on the left-hand-side.
Once you’re there click on “+Add Collection”.
It will then ask you to name the collection and choose a folder for it to access. Note! The folder must be an existing folder, the application won’t create one for you.

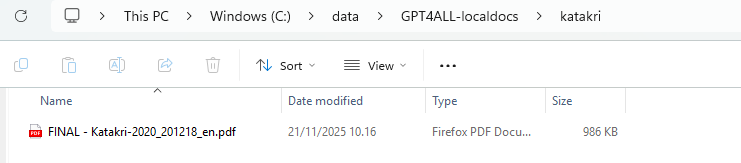
All that’s left now is finding the folder you chose, and adding whatever pdf you want into the folder. It will take some time to process the added files.
I tried it out with a Katakri manual, for example:

Now that the localdoc is set-up you just need to add it to the chat and you’re good to go! In the “Chats” tab, simply click on “LocalDocs” on the top right and select the localdoc you just created.

You will know it’s been selected by the “1” appearing next to the “LocalDocs” and the square being filled next to the chosen localdoc. If you have multiple, you can choose more than just one to be used as sources for the chat.

Keep in mind that if you do not select a localdoc that the chat will not use it automatically! You have to always add it manually.

That has been all this time around. Thank you for reading!

Links:
GitHub – GPT4All: Run Local LLMs on Any Device. Open-source and available for commercial use.
GPT4All website – GPT4All

How I set-up my JetKVM

Today I will be talking about JetKVM, an open-source KVM (Keyboard, Video, Mouse) that is used to “remotely” manage computers, servers, and workstations.

Though a fairly simple process, there will probably be multiple parts to this, since it would be a really long blog otherwise. That being said, let’s go to the first part: Connecting JetKVM.

The USB-C and mini HDMI adapter came with the box, as did an actual mini HDMI to HDMI cable, but it was too short so I used my own. The Ethernet cable is also my own. After connecting all the cables to JetKVM, you should see something like this on its screen.

Let’s go see if it worked by going onto a browser with a different computer, and putting in the IP address from the JetKVM screen onto the browser’s address bar. There should be a prompt asking you to set up the JetKVM. (First time only)

The overall setup looks like this, see the diagram below:

The picture below shows when using JetKVM to install IPFire firewall (this is from the console)

The next picture below shows when using jetkvm to control windows 11 laptop. (this laptop is used to test the firewall rules)

It is possible to control JetKVM over the internet if using OpenVPN remote connection from IPFire firewall.

Links:
https://jetkvm.com/

First test on IPFire firewall

Wanted to try out one of the Open Source firewalls, and for this test I selected IPFire. For other candidates see links.

I installed IPFire on a miniPC using JetKVM. The mini PC is from Ebay and has the following specs, to those interested to know:

Model: HP EliteDesk 800 G1
CPU: Intel(R) Core(TM) i5-4570S CPU
Memory: 8GB
Disk: 100GB
USB-NIC: TP-link UE300 (USB3 Gigabit Ethernet)

In IPFire the untrusted network (internet) is colored RED, and the trusted network (intranet) is GREEN. There two NIC (Network Interface Cards) are needed.

Some of the features I was testing:

Here are some screenshots:

Status -> Services

Network -> Captive Portal

Firewall -> IP Address Blocklist

Firewall -> Intrusion Prevention System

All-in-all quite many features in IPFire. To better master it would take a lot of time, but for the test purposes it was very interesting to try out and learn about. It didn’t seem too difficult to set-up for home networks.

I think I will be using the OpenVPN in the future to test different things.

Links:
https://www.ipfire.org/
https://en.wikipedia.org/wiki/List_of_router_and_firewall_distributions

Burp Suite and academy for learning

I have been dabbling a little bit with Burp Suite.
As usual, for those interested there will be links at the end.

Burp Suite is a web application testing tool, and there are two versions:
A community edition, which is free.
A professional edition, which has a subscription payment model.

I used Burp Suite’s community edition and I feel it is a good starting point for learning web application testing.

In the academy, there are many courses for learning different subjects. These courses are called “paths” and they are divided into different skill levels: Apprentice, Practitioner and Expert.
I started out at the Apprentice level path “Server-side vulnerabilities”. I really enjoyed that path, and I fully recommend it as a solid starting point for beginners like me!

Each path is further broken down into Labs, a hands-on exercise to help learn a concept that was taught previously with some basic theory.
I will be sharing some pictures that are related to two Labs that I had completed. The pictures show the setups of these Labs.

Lab: Basic SSRF against the local server

Lab: Basic SSRF against another back-end system

Trying out Burp Suite was definitely a good experience. So far i have not proceeded into other paths, having only completed “Server-side vulnerabilities”, but i might try to advance further if I have the time.

Links:
Download: https://portswigger.net/burp/communitydownload
Server-side vulnerabilities: https://portswigger.net/web-security/learning-paths/server-side-vulnerabilities-apprentice
Other paths: https://portswigger.net/web-security/learning-paths