Today I will be talking about JetKVM, an open-source KVM (Keyboard, Video, Mouse) that is used to “remotely” manage computers, servers, and workstations.
Though a fairly simple process, there will probably be multiple parts to this, since it would be a really long blog otherwise. That being said, let’s go to the first part: Connecting JetKVM.
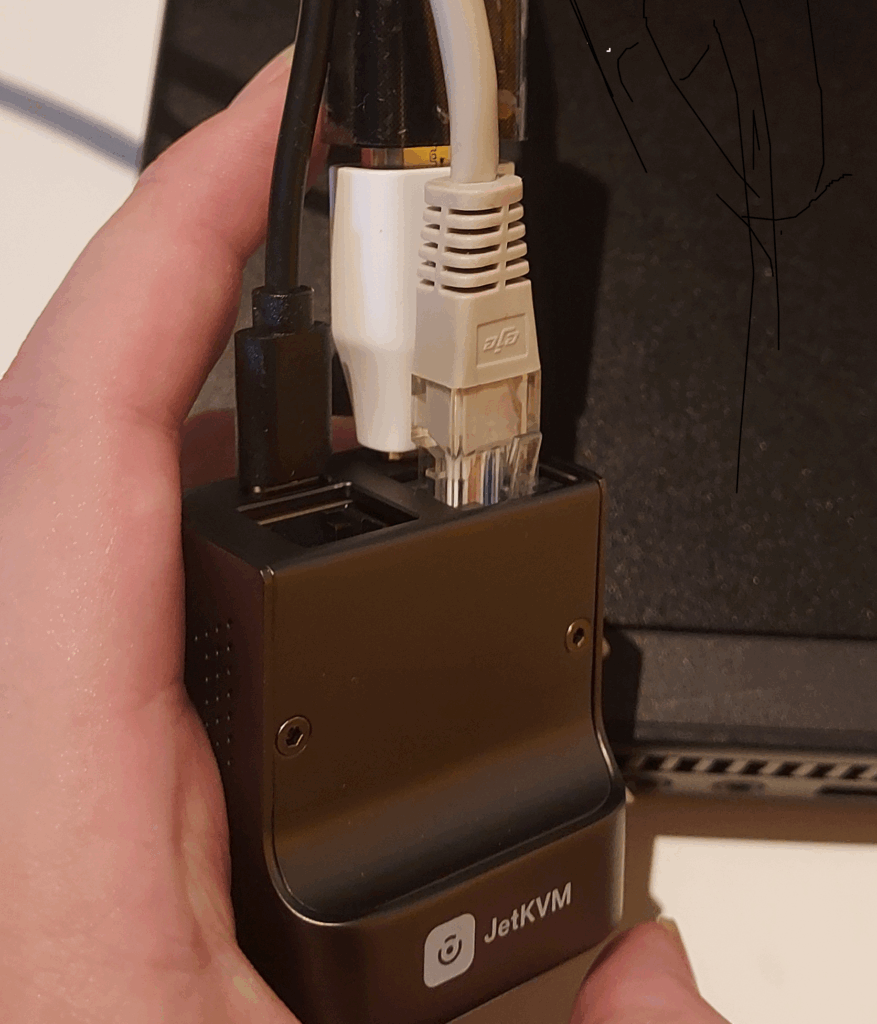
The USB-C and mini HDMI adapter came with the box, as did an actual mini HDMI to HDMI cable, but it was too short so I used my own. The Ethernet cable is also my own. After connecting all the cables to JetKVM, you should see something like this on its screen.
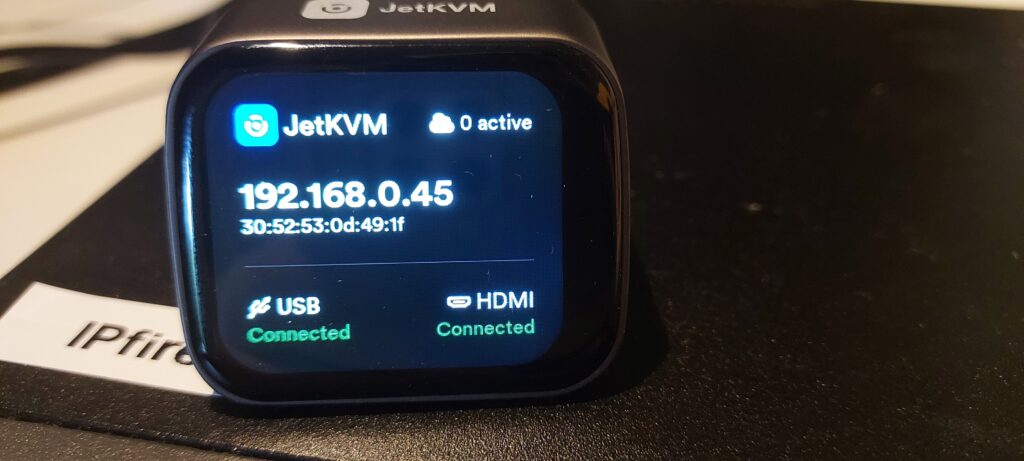
Let’s go see if it worked by going onto a browser with a different computer, and putting in the IP address from the JetKVM screen onto the browser’s address bar. There should be a prompt asking you to set up the JetKVM. (First time only)
The overall setup looks like this, see the diagram below:

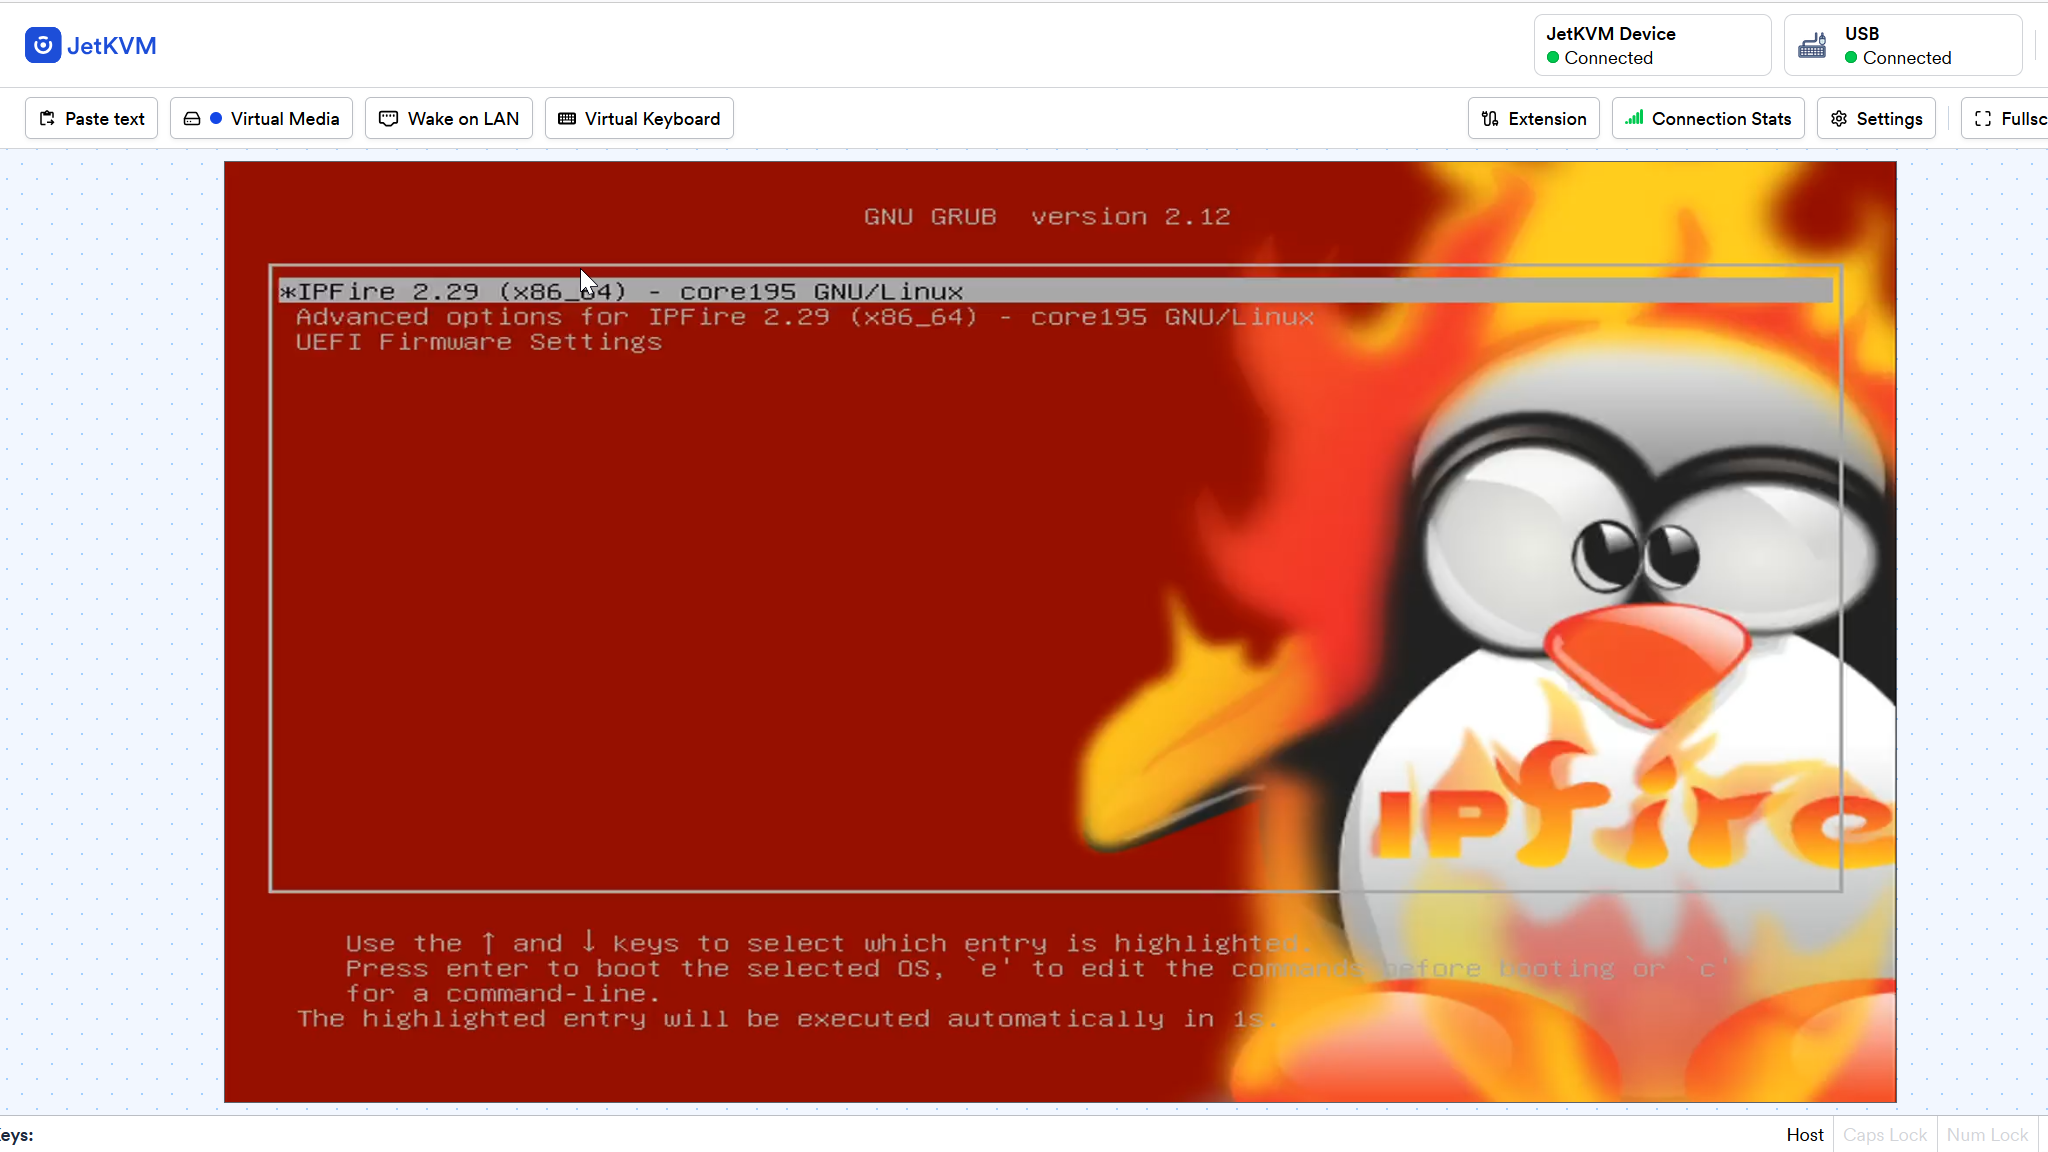
The picture below shows when using JetKVM to install IPFire firewall (this is from the console)
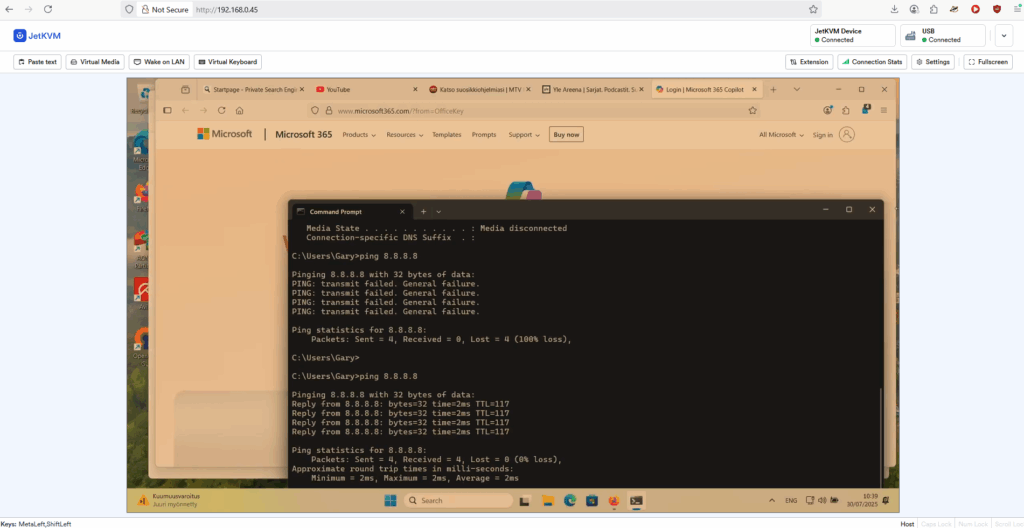
The next picture below shows when using jetkvm to control windows 11 laptop. (this laptop is used to test the firewall rules)
It is possible to control JetKVM over the internet if using OpenVPN remote connection from IPFire firewall.
Links:
https://jetkvm.com/